Author:-Sanjay Purohit
Objective
The
purpose of this article is to demonstrate how to publish recorded using Player
Package publishing format via IIS
how To
Steps to publish UPK recorded contents:-
·
Select
the recorded Module/Selection/Topic.
·
Go
to File->Publish
·
Provide
the location where you want to store the recording.
·
Select
the option whether you want to publish entire outline or selection only.
·
Select
appropriate option from publish content wizard.
·
The
publishing in progress and you should see the progress.
·
Open
IIS
·
Right
click on the web site being used (Default Web Site) and select Add Virtual
Directory
·
Under
Alias, give the virtual directory a name (preferably one word only) and for the
Physical Path, navigate to the location of your Player Package folder which you
moved to the server
·
Test
its access by right-clicking the virtual directory you created and selecting
the bottom most option (Switch to Content View)
·
Right
click on the Index.html file and select browse
Select the recorded Module/Selection/Topic.
Provide the location where you want to store the recording.
Select
the option whether you want to publish entire outline or selection only.
Select
appropriate option from publish content wizard.
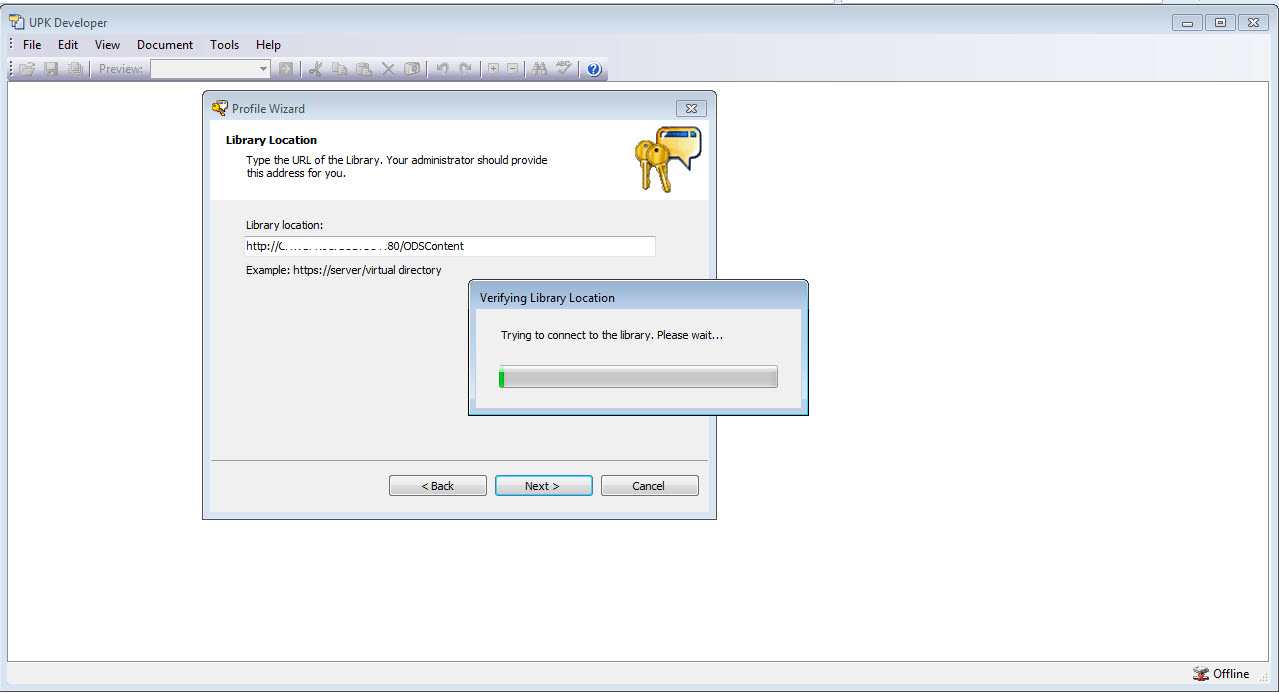
Publishing
progress can be seen here
Go
to IIS and right click on the web site being used (Default Web Site) and select
Add Virtual Directory
Under
Alias, give the virtual directory a name (preferably one word only) and for the
Physical
Path, navigate to the location of your Player Package folder which you moved to
the server
Test
its access by right-clicking the virtual directory you created and selecting
the bottom most option (Switch to Content View)
Right
click on the Index.html file and select browse
URL
is ready to view online. :-
http://samplerecording.com/BudgetUsers/index.html
Important
Notes to consider:-Make
sure ASP.NET, Basic Authentication and Windows
Authentication are installed in your server. Also ensure the player package
folder has the following security
USERS group
NETWORK_SERVICES group
·
I
had some issue with security therefore I had to share the folder with everybody
Related URL
UPK: How To Access UPK Published Content from
the Intranet? (Doc ID 1904674.1)